I have been using this turntable for about 2 years now and it has been chugging along steadily. It belonged to my father who said he bought it about 30+ years ago and the fact that it still turns at all is a miracle in this generation of gadgets that never seem to last longer than a couple of years before giving up the ghost. It originally comes with a thick rubber platter mat which I have since replaced with a thinner cork one. It spoils the look of it somewhat but it isn't going to win any design awards even with the black rubber mat anyway.
It is a quartz locked direct drive turntable, meaning no spinning motors or turntable belts, and if working well it would be spinning 99.9% (or so) at the correct speed all the time at either 33 or 45rpm. The tonearm moves automatically to the first track of a record when the start button is pressed, and returns automatically to rest when the end of the record is reached...simple and convenient. It does what it was designed to do with minimum fuss and performs well to my ears.
This turntable was built to last, but everything has its limits and recently I noticed it has been struggling to keep a constant speed. I can hear it every time I play a song with a sustained note and you can hear the pitch go up and down when it is supposed to be a steady pitch. A quick check with a stroboscope confirmed this and I set about dismantling the turntable to see what was up with it.
To take it apart, remove the platter mat and you will see two holes in the platter. Put a finger into each hole and GENTLY lift the platter up. Do your best to try and lift it straight up without knocking the against the center spindle as the direct drive motor magnets are there and might be damaged with rough treatment.
You can see the direct drive magnets in the picture below. The black cover has 3 screws securing it to the turntable body. Remove these screws and the cover lifts right off.
The cover has an indicator showing the front orientation so you can't put it back wrongly.
Lifting off the cover reveals...electrolytic capacitors!!! The number one most replaced component on this blog so far! They have been in service for 30+ years and it was time for them to be replaced...
The bottom plate has to be removed in order to access the bottom of the PCB. The four spring feet were in terrible condition and the rubber dampers we disintegrating as I handled them. They came apart as I unscrewed the four screws holding the bottom plate to the turntable body. I would obviously have to replace the feet as well.
What would you expect to find in a 30+ year old turntable? 30+ years worth to dust perhaps? Yep...it was so dusty that I took the entire bottom plate and ran it under a tap to wash away all the muck. I realize now that in my haste to assemble the turntable back later I forgot to take a picture of the clean bottom plate but trust me when I say I cleaned it up real good.
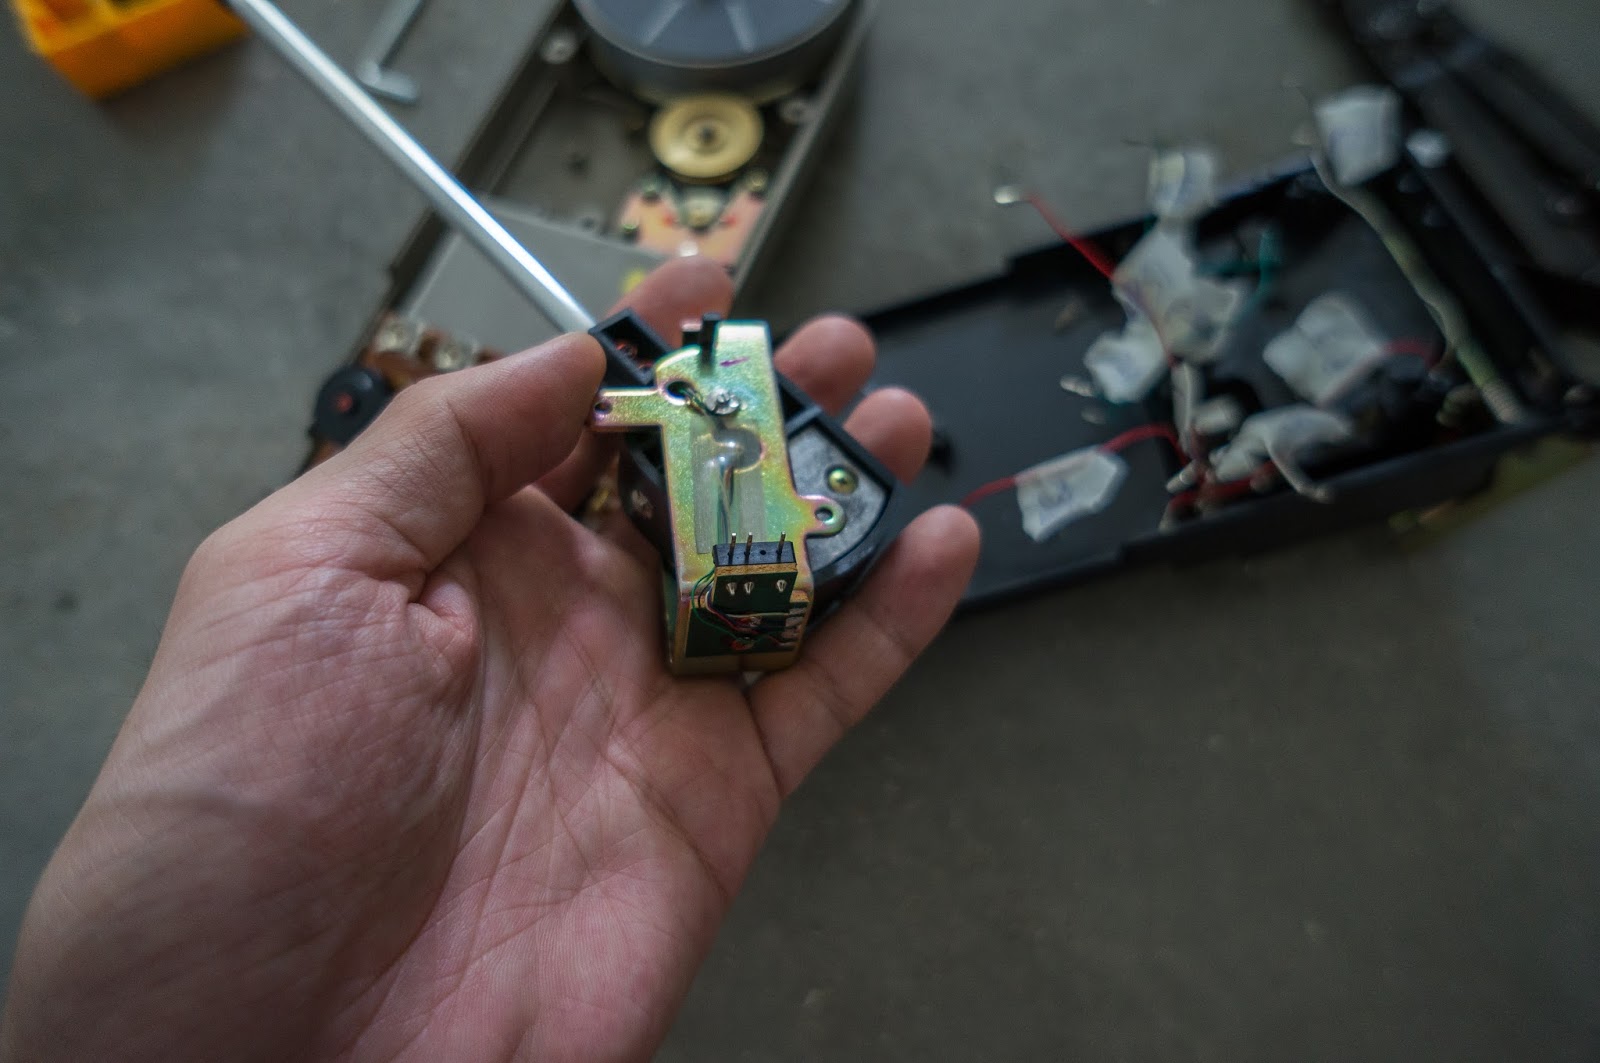
With everything stripped away I now have access to the top and bottom of the PCB. You can see the intricate system of gears and pulleys that control the auto start and return system. No electronic servos or other high tech stuff here! Besides the quartz locked motor speed control which is electronically controlled, everything else is nearly mechanical which is very interesting to look at...
Replacing the electrolytic capacitors was as simple as noting down the value and voltage rating and getting new replacements.
As always, modern equivalent capacitors are usually smaller than what they were 30+ years ago..
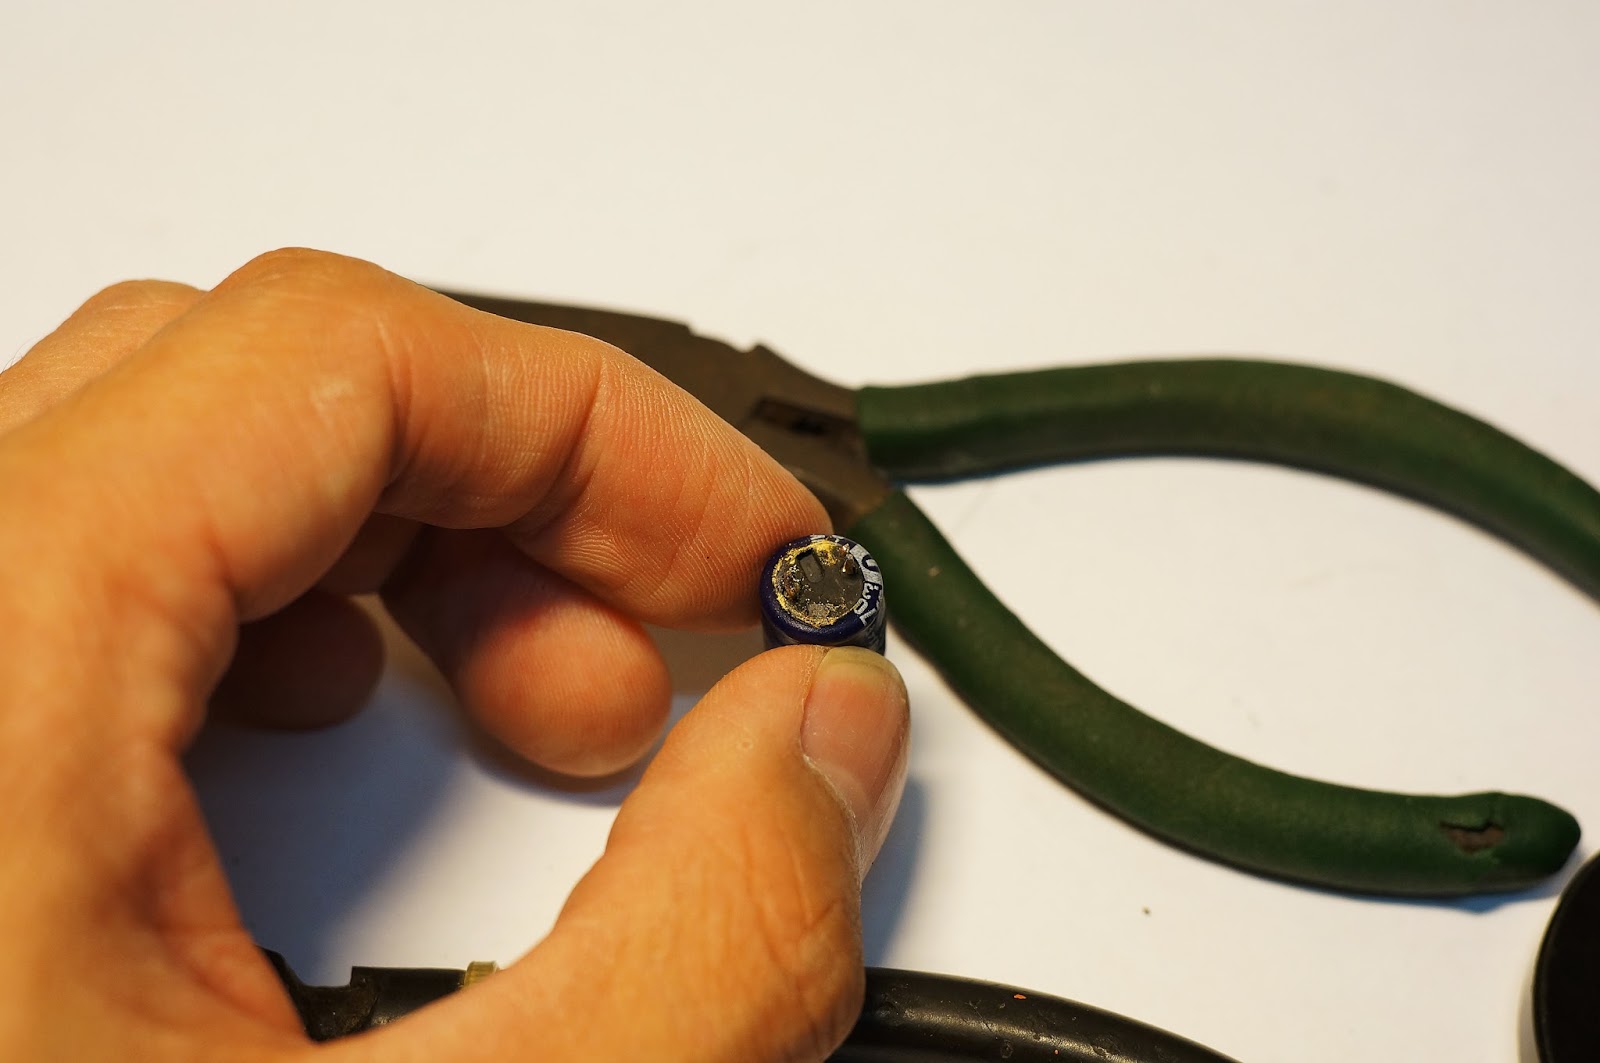
I found a few capacitors that were leaking as I desoldered them one by one. None of the other capacitors other than electrolytic generally require replacement after 10 years or so and they are usually the first components to fail, so do keep that in mind every time an old piece of equipment fails suddenly. You could bring it back to life by simply replacing the electrolytic capacitors as I have done many times on this blog with the other projects.
There...good as new for the next 10-30 years!
While I was at it, I decided to replace the corroded RCA plugs as well. These plugs connect to my pre-amplifier and have always needed an occasional twisting in their sockets to get a good connection and I was sick of it so it was time for them to go!
I ordered a good solid pair of Amphenol plugs and I couldn't ask for any better quality in a RCA plug (none of those 100% solid-gold-blessed-with-holy-water kind of plugs please...) Here's a short guide on how to replace RCA plugs on your player:
Strip the wire carefully to expose the shielding and the inner insulated core.
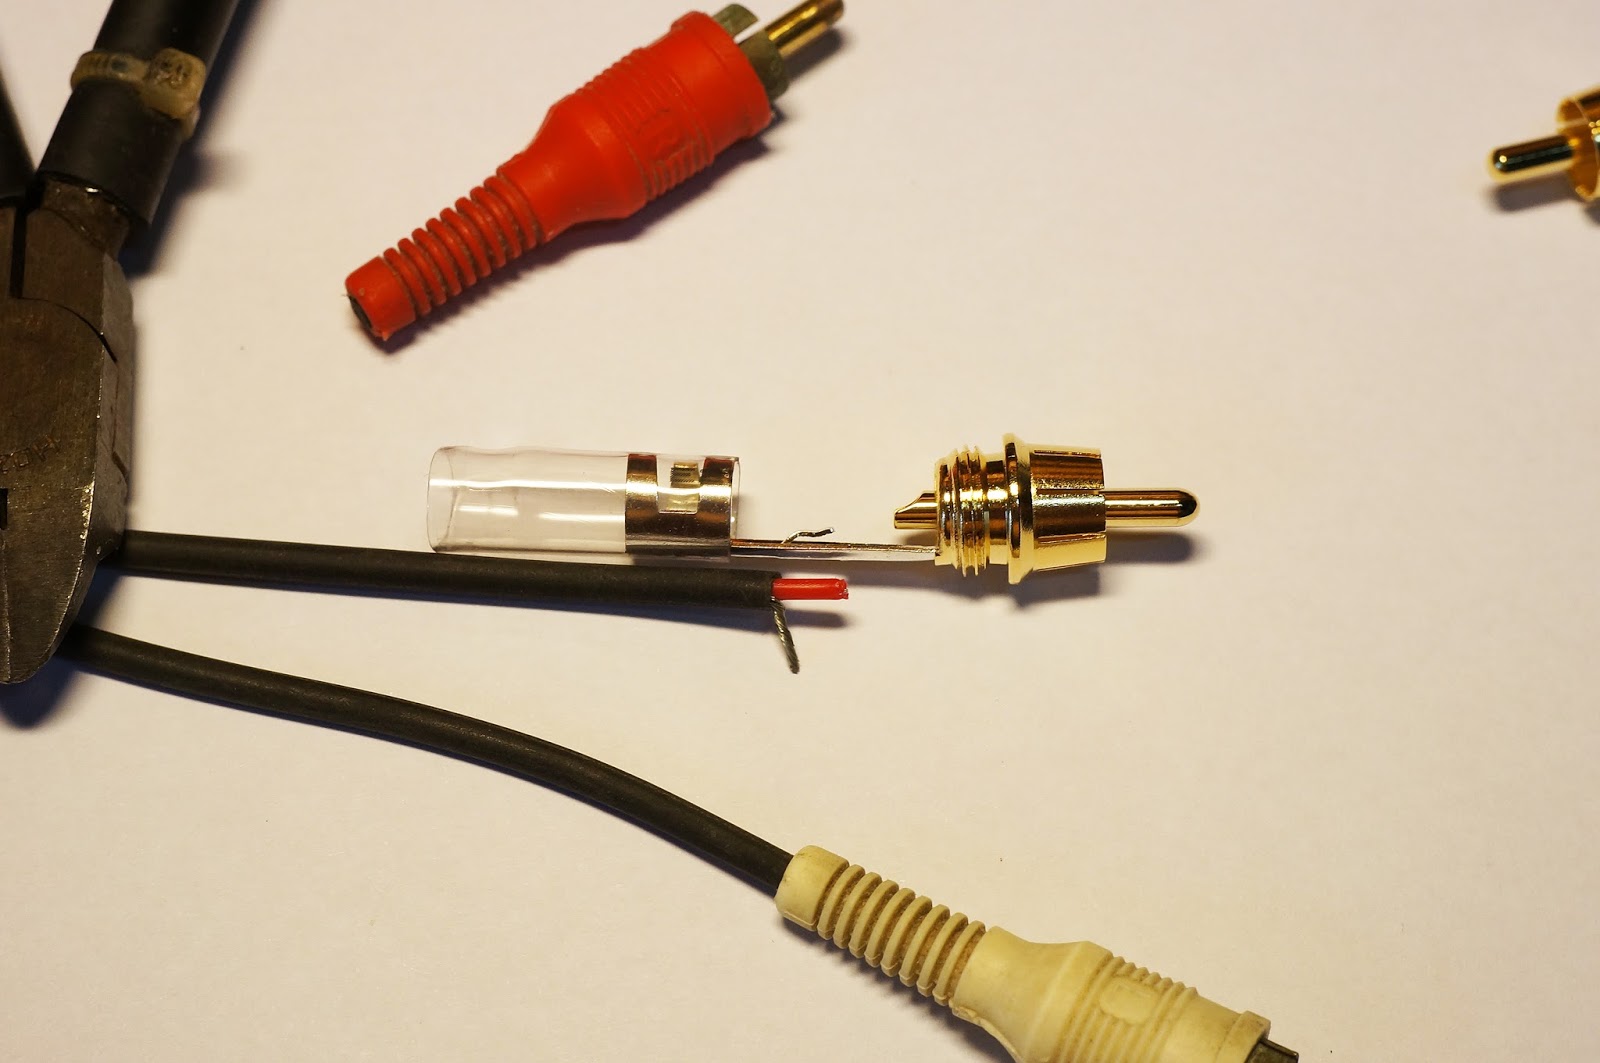
Twist the shielding to form a 'wire' on its own. This shielding is to be soldered on to the flat horizontal prong you see in the picture below.
Strip the inner wire ever so slightly and solder that to the center hole of the RCA plug. Solder the shielding as mentioned before and that settles this plug!
Rinse and repeat for the other plug and voila, new corrosion free plugs!
The old spring/rubber feet could no longer serve their purpose of absorbing the vibrations from the surface which the turntable is coupled to, so I bought these solid metal cone feet to replace them. They act as mechanical diodes, allowing vibrations to transfer from the turntable down to the surface which it is sitting on, and not the other way around.
I stuck cork pads on the corners of the base plate to give a buffer zone between the supports and the turntable for added dampening. This is beneficial especially if your speakers are near to your player and the vibrations induced by your speakers will result in audible feedback which is when the energy of the sound waves from your speaker causes your needle to vibrate, which in turn creates sound in your speakers, which in turn causes your needle to vibrate, which in turn...well...you get the picture...
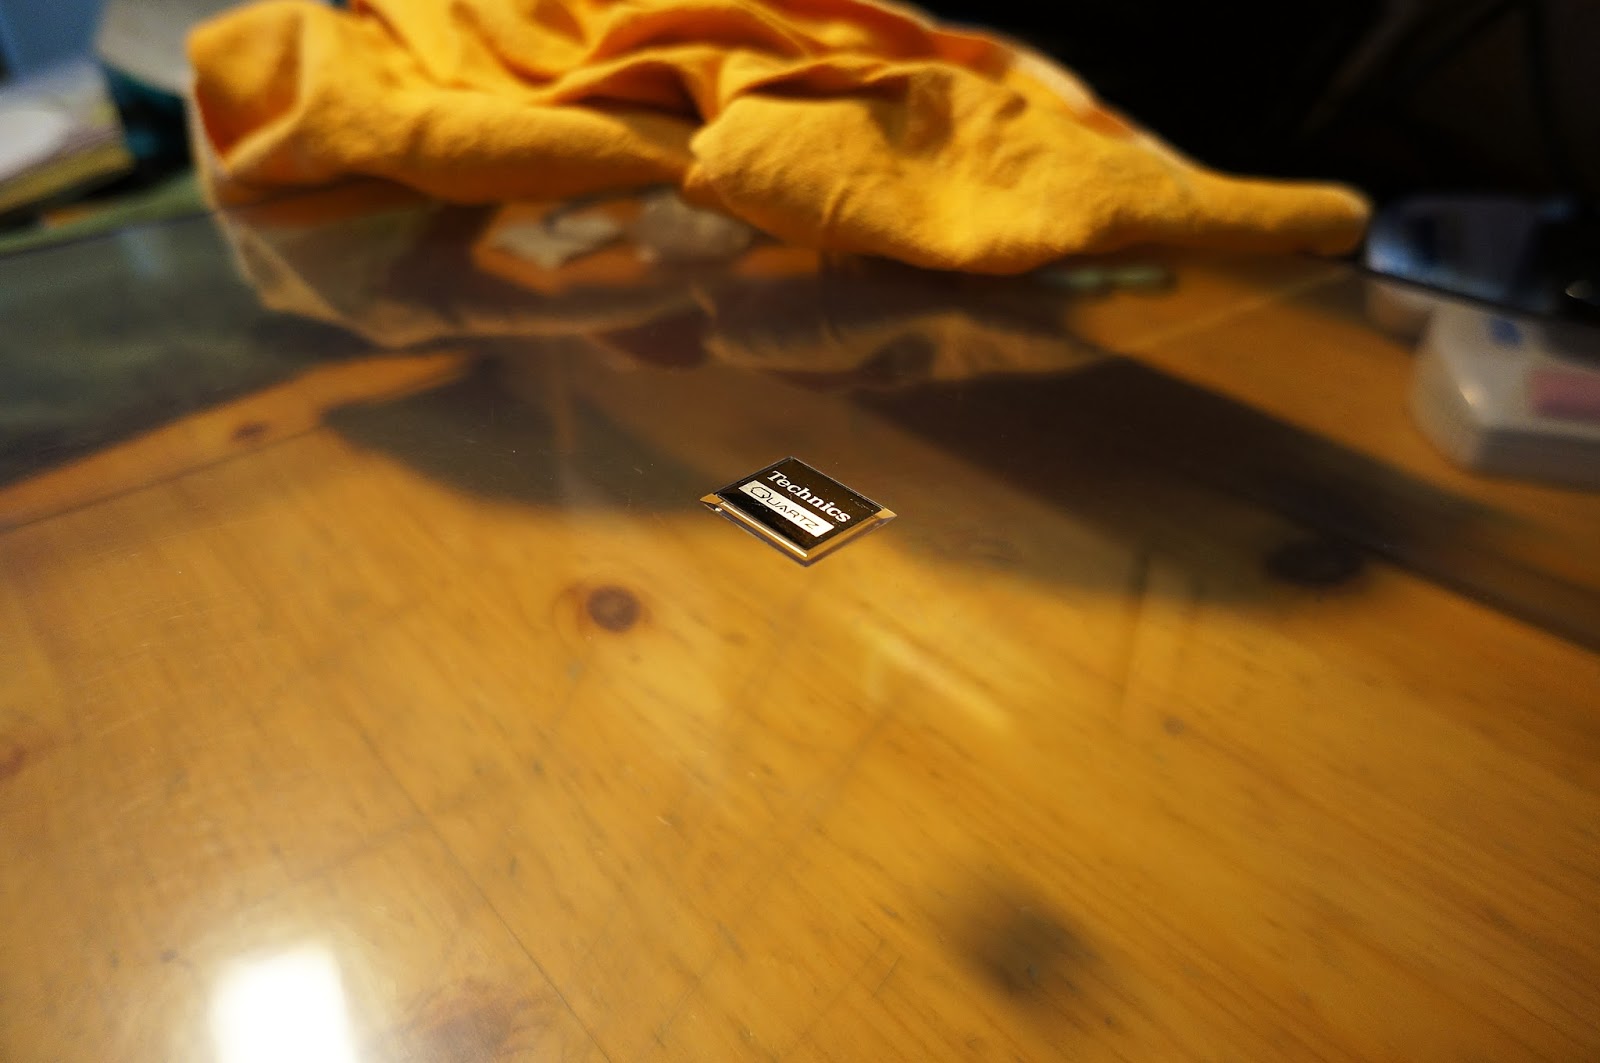
Lastly, I also decided to give the dust cover a good cleaning and polishing as well. 30+ years of wear and tear has made it opaque. I used fine grade sandpaper for the more obvious scratches, followed by Novus plastic polisher no.1 and 2 which I last used with great results on the
Westclox clock lens.
It seems to be dusty but it is actually covered in many fine scratches from the years of daily wear and tear.
Apply a good amount and buff with a soft cloth:
It's not perfectly clear, but it is much better than before. You probably won't get it glass clear without using a electric buffer but this was good enough for me.
I put everything back together and now the turntable works perfectly again.
-The capacitor replacement cured the inconsistent motor speed.
-The new RCA plugs stopped the intermittent connection between the turntable and the pre-amplifier.
-The new cone feet reduced the vibrations absorbed by the turntable body, resulting in lesser mechanical feedback.
-The polished dust cover made the turntable slightly nicer to look at.
All in all a great success!